How do I setup a Ubuntu Virtualbox System?
To set up your Ubuntu Virtualbox system, first copy the Virtualbox disk image, located on the Public Drive at \Technology Services\Service Desk\Linux Virtual Disk Image\Ubuntu_12-04-3_TS.ova to your computer. Click here for instructions on mapping the Public Drive.
Copy this file to a safe location on your computer, the documents folder, or some place similar.
Download and install Virtualbox for your operating system with the file found here.
Accept default settings, including the network devices, and start Oracle VM Virtualbox Manager when done.
Start Oracle VM Virtualbox
- Choose File, Import Appliance
- Choose the Ubuntu_12-04-3_TS.ova file that you have saved to your computer
- Click on Import (this may take a while)
Please note: If you get a network error message when starting Oracle VM VirtualBox, you may need to install the Oracle VM VirtualBox Extension Pack here
Double-click on Ubuntu 12.04.3(TS) to start.
All other settings can be left as default.
You can now start the virtual machine. On first boot, you may get a notification about capturing the mouse. It is suggested to click the icon "Do not show this message again" (top right hand corner, a message bubble with a line through it) in order to avoid this notification each boot.
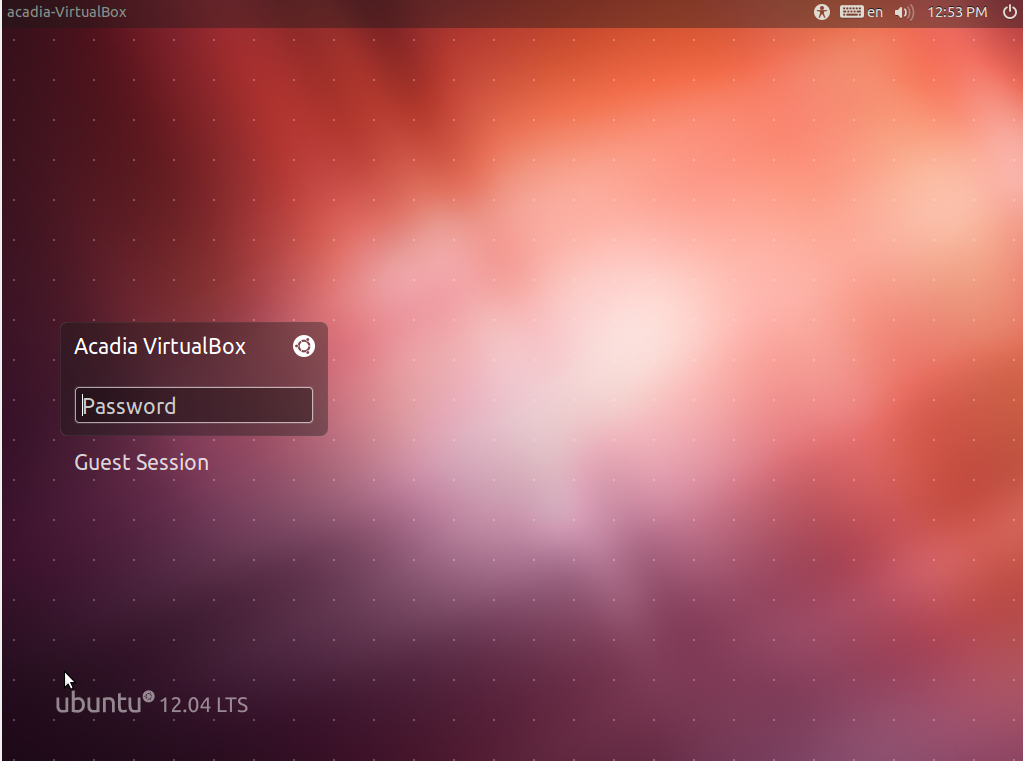
The Ubuntu 12.04.3 system will boot, and after a successful boot, you will be able to log in using the Password of ubuntu
On the first login you will be given the opportunity to change the userid to something of your choosing. You can change the password as well, and if desired, create new accounts. You can simply close the program if you wish to use the default username and password.
To Close
- Click on Machine, Close
- Choose Power off the machine,
- Click on OK


